Oracle virtual box overview:
Virtual Box is a cross-platform virtualization application. It extends the capabilities of your existing computer
so that it can run multiple operating systems (inside multiple virtual machines) at the same time. So, for
example, you can run Windows and Linux on your Mac, run Windows Server 2008 on your Linux server, run
Linux on your Windows PC, and so on.
so that it can run multiple operating systems (inside multiple virtual machines) at the same time. So, for
example, you can run Windows and Linux on your Mac, run Windows Server 2008 on your Linux server, run
Linux on your Windows PC, and so on.
Download oracle virtual box from https://www.virtualbox.org/. And download virtual box extension pack also.
- Oracle_VM_VirtualBox_Extension_Pack-4.2.16.vbox-extpack
- VirtualBox-4.2.16-86992-Win.exe
Once you done downloading, start installing oracle virtual box.
Please don’t forgot to enable Intel’s VT-x or AMD's AMD-V option in your laptop/Desktop.
Step1: Install virtual box.

Choose Next.
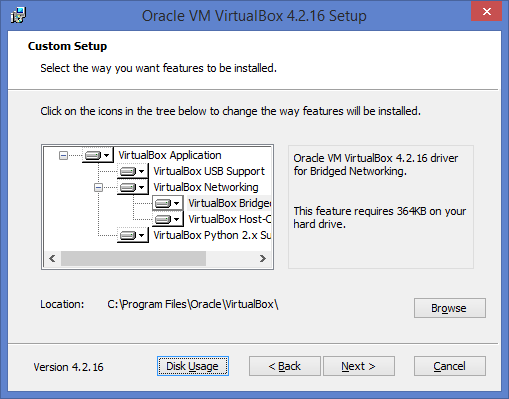
Choose Next.
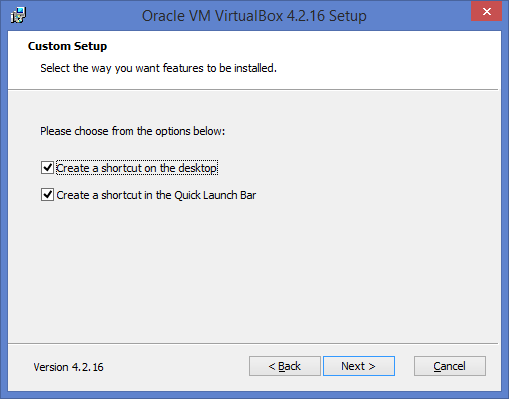
Choose Next.
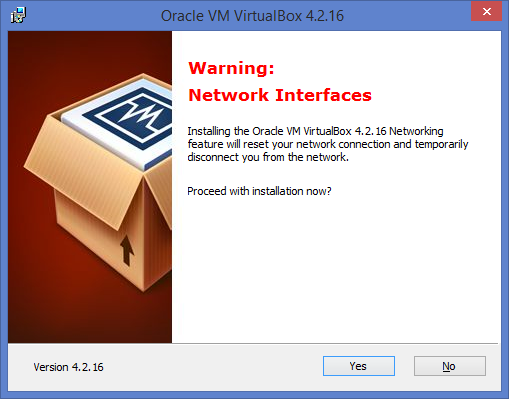
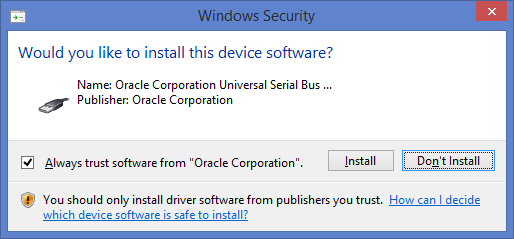
Click Yes.
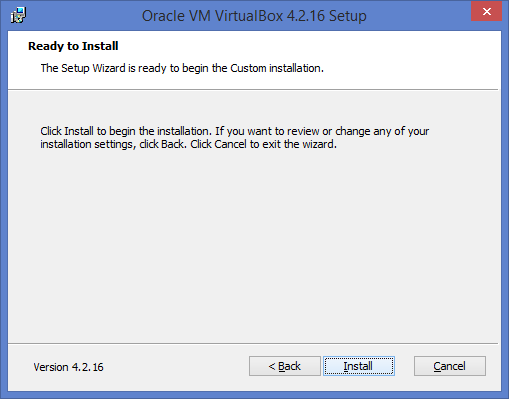
Click install

Click install to create network interface which will be used by Virtual box.
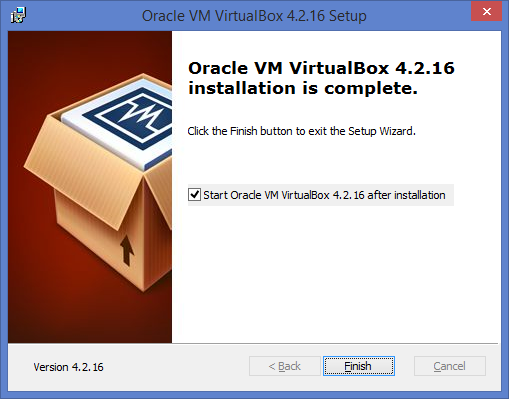
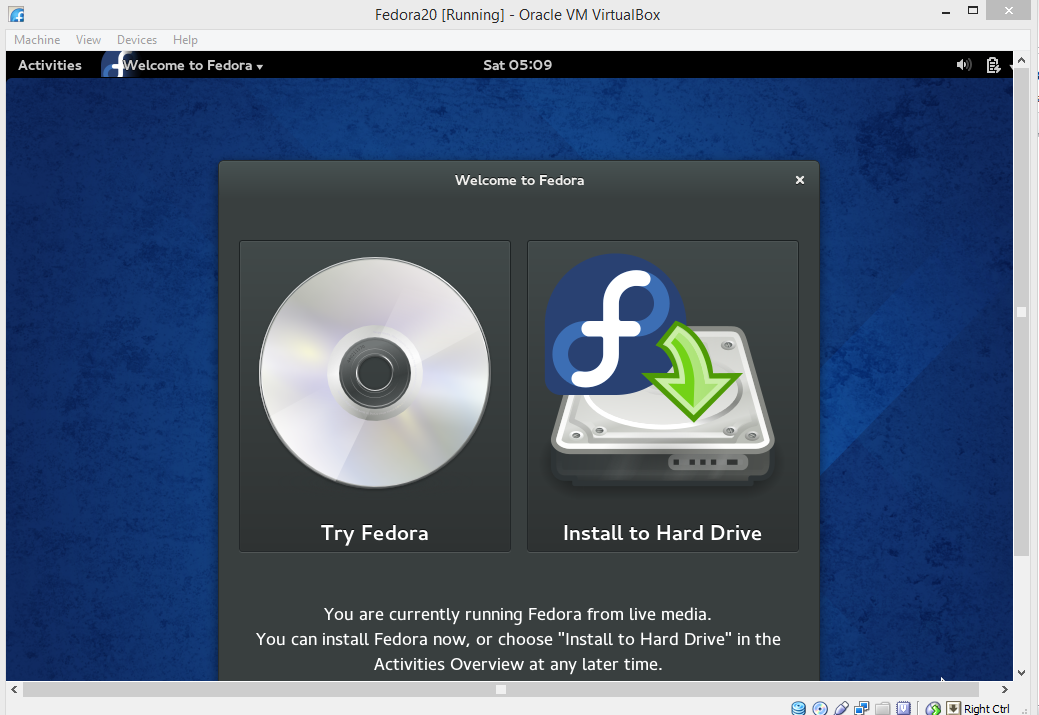
Click Finish. Now we successfully installed oracle virtual box. After installation start Virtual box.

Step2: Configuring Virtual box.
We need to add extension pack for the virtual box. Extension pack add new capabilities to virtual box like USB
controller and Virtual Box Remote Desktop Protocol
controller and Virtual Box Remote Desktop Protocol
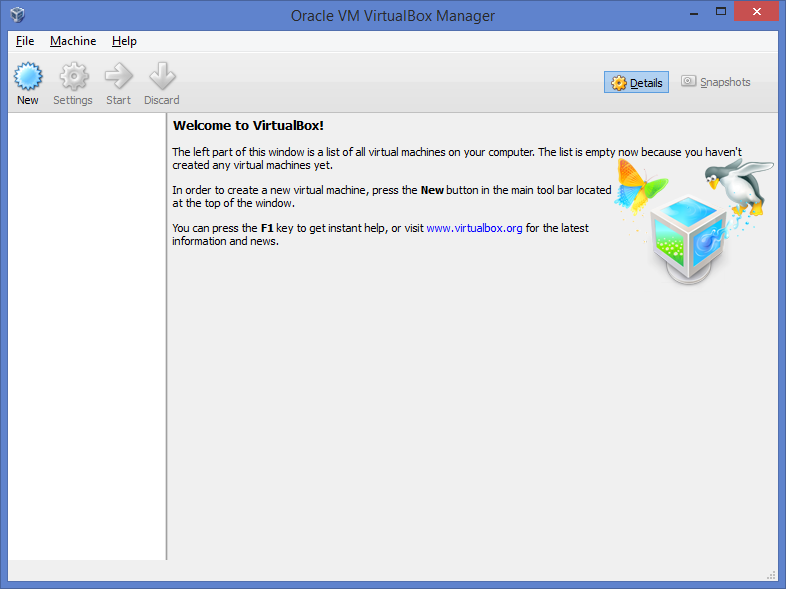
Open Oracle virtual box.
Go to File → Preferences → Extensions
Click add package button  to add extensions.
Choose the extension file you downloaded from virtual box site.
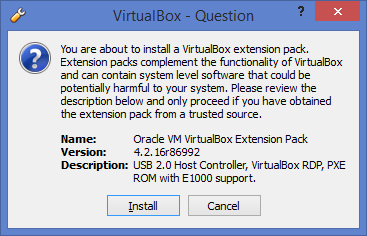
Click ‘Install’.

Click ‘I Agree’


Click ‘OK’.
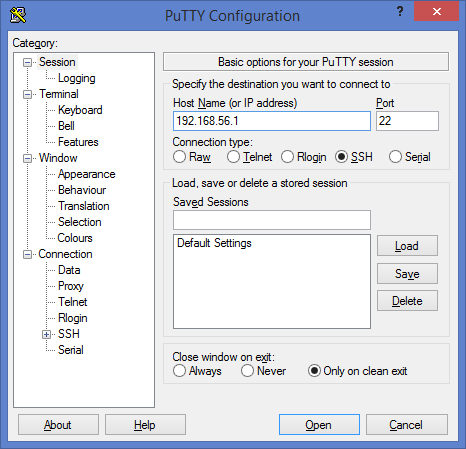
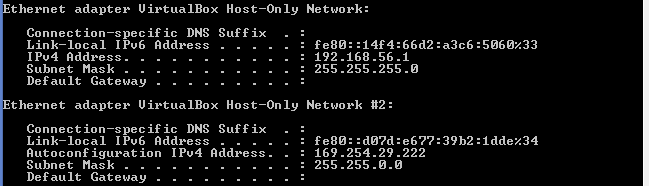
Go to CMD.
Type ipconfig and enter.

You will find the above entry in command line.
It indicates that virtual box network adapter is installed and enabled.
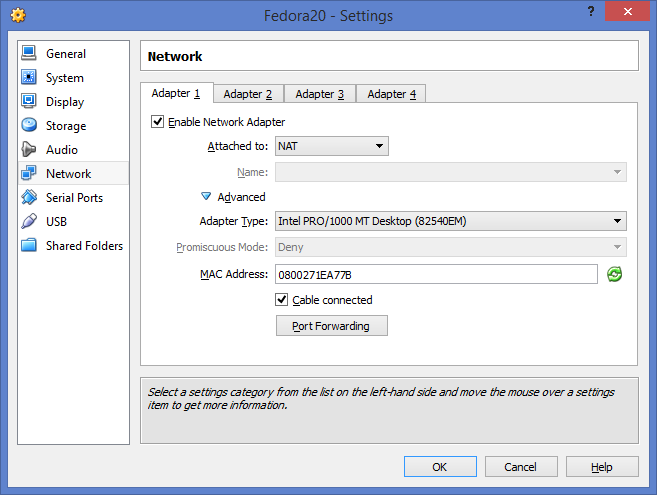
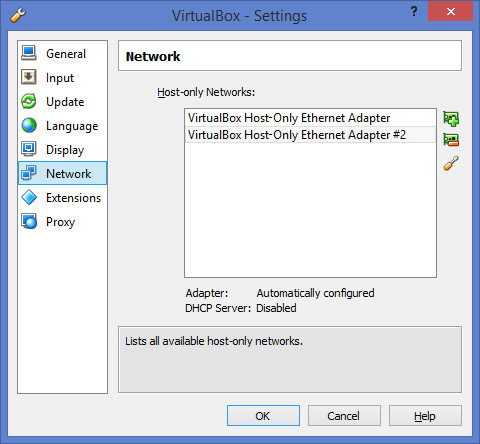
Step3: Adding Network adapter
Please follow below instructions, if you want one more network adapter needs to be installed.
Go to File→Preferences → Network and click  button.
It will create one more adapter.
Select newly created network adapter and click  to change IP settings.
Add Below specified entries

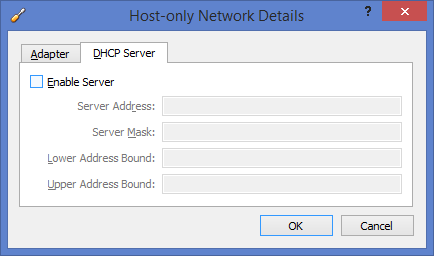
Click ‘OK’. Click again OK to save the settings.
Confirm the settings are applied or not via command line.

Now we successfully configured the another network adapter.
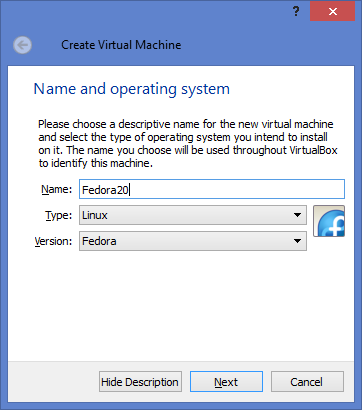
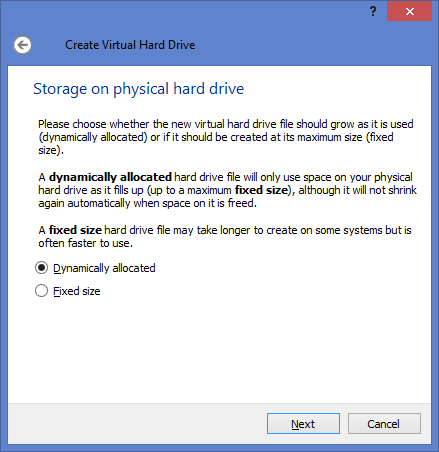
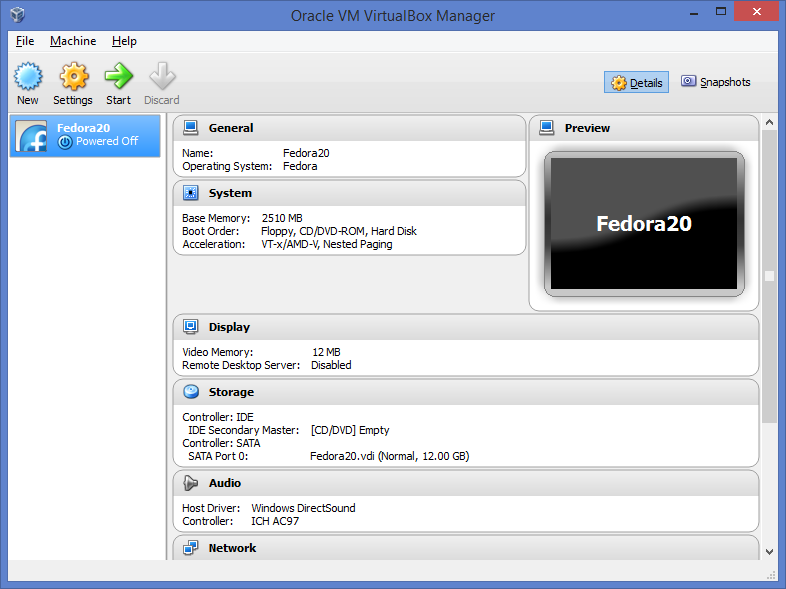
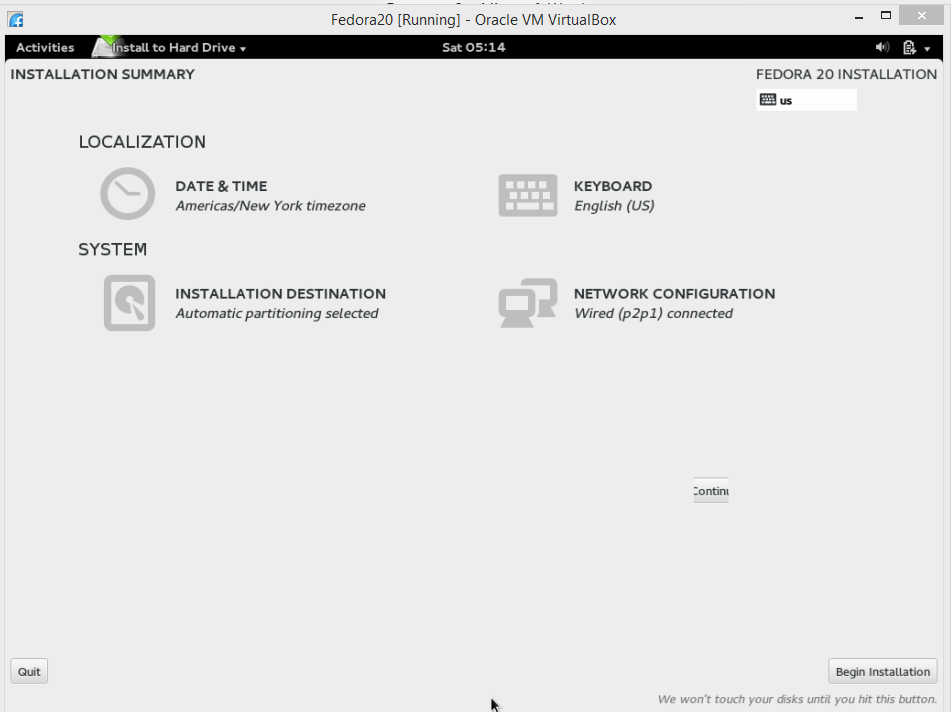
We will see how to ‘Create Virtual machine in Virtual box’ on next post.