
Cent OS is one of most popular Open source Linux distribution. CentOS is fedora based Linux distribution. Many webservers in the market are based on CENT OS.
Personally I use Cent OS in work(Automation) and to build any web based applications. We will get many references to install and configure CENT OS in web.
To learn Linux also it is very good choice. Many of them wants to learn Linux but they don’t get servers for their practice, in case of that they can install Cent OS in virtual box and practice.
Come, we will install Cent OS in virtual box.

- Make sure you installed the Virtual box and virtual box extensions. To install virtual box, refer my previous posts
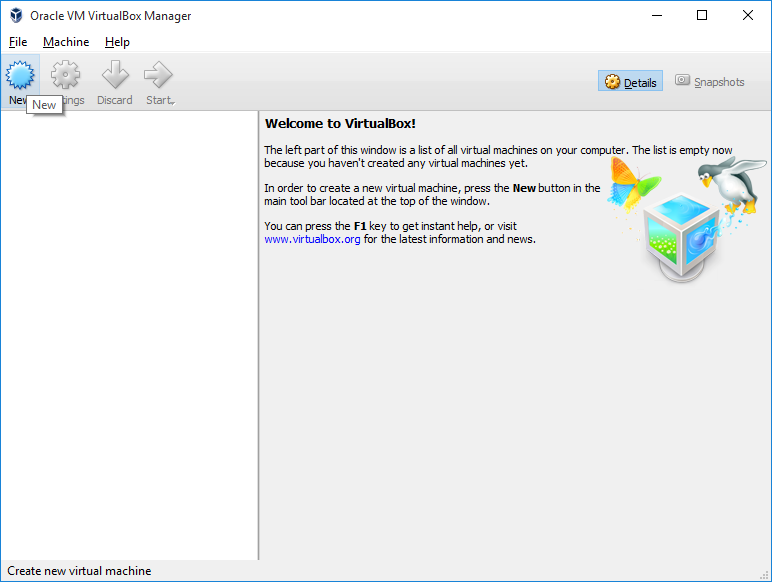
- Open Virtual box, and Click New button.
- Choose the OS Type as Linux and Version as Red Hat (64-bit). And Click Next.

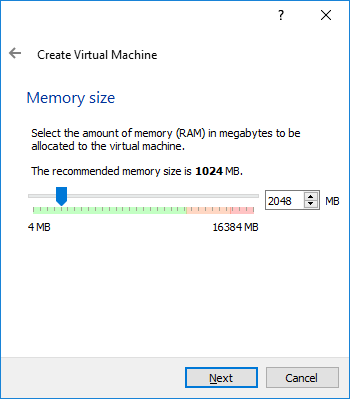
- Select RAM Size minimum 1GB. And Click Next
- Choose Create a Virtual Hard Disk Now. And click create.

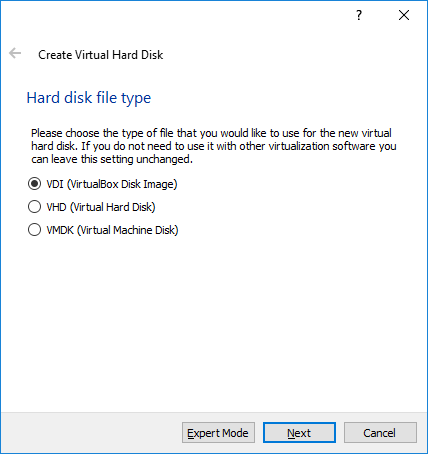
- I prefer the file should be VDI. So that in future I can increase the virtual hard disk size.
Select Hard disk type and click Next.
- Choose Dynamically allocated. So that disk file size will increase based on the usage. Click Next.

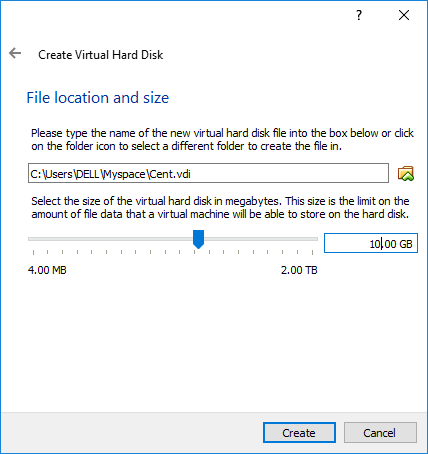
- Select VDI Size and Location. And Click Create. Make sure disk location have enough space.
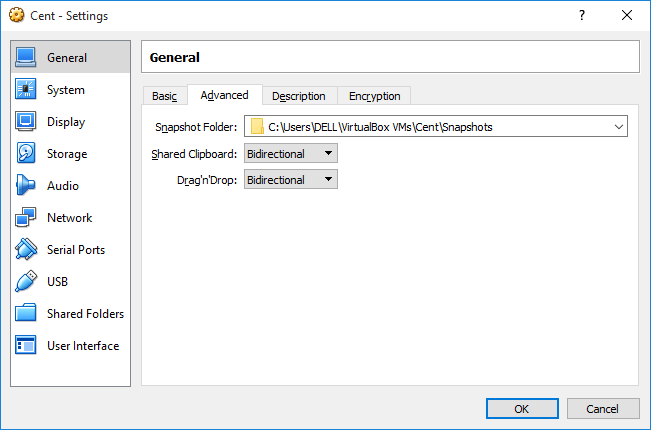
- Go to Settings of newly created machine. Change Shared Clipboard and drag n drop to Bidirectional in General section.
- Change boot order, keep optical disk in up and keep Hard disk in next.
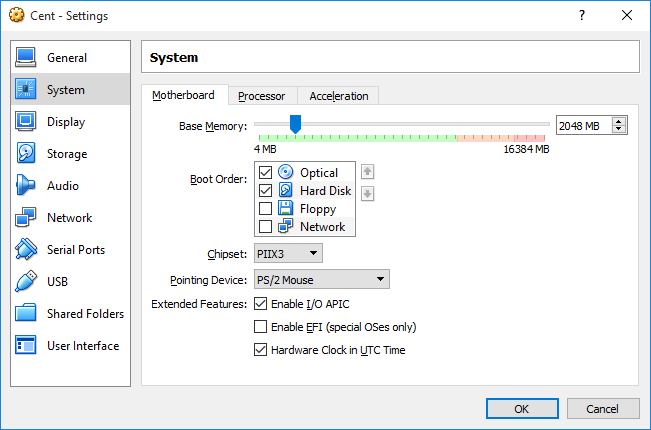
- Give the video memory up to 128 MB.

- Choose the Cent OS ISO file as CD. And enable Live CD/DVD check box.

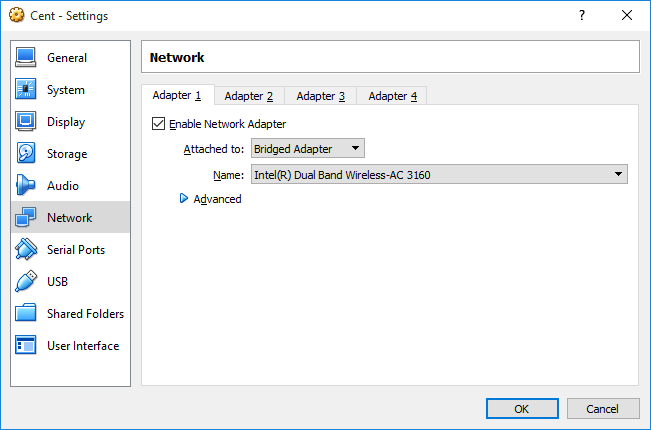
- Keep Network Type as Bridged Adapter (Choose this type only when your router can provide one more IP address for your virtual machine).
Otherwise choose network adapter as NAT.
- Add shared folder to copy files between host and guest. And Click OK.

- Click OK now.
- Now start the Virtual machine by clicking start button.
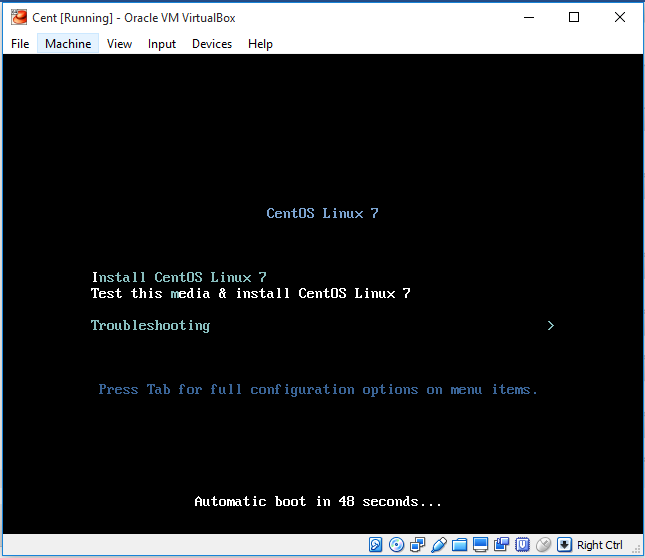
- Choose Install CentOS Linux 7. Use right ctrl button to come out of virtual machine.
Choose Language English and click Continue.

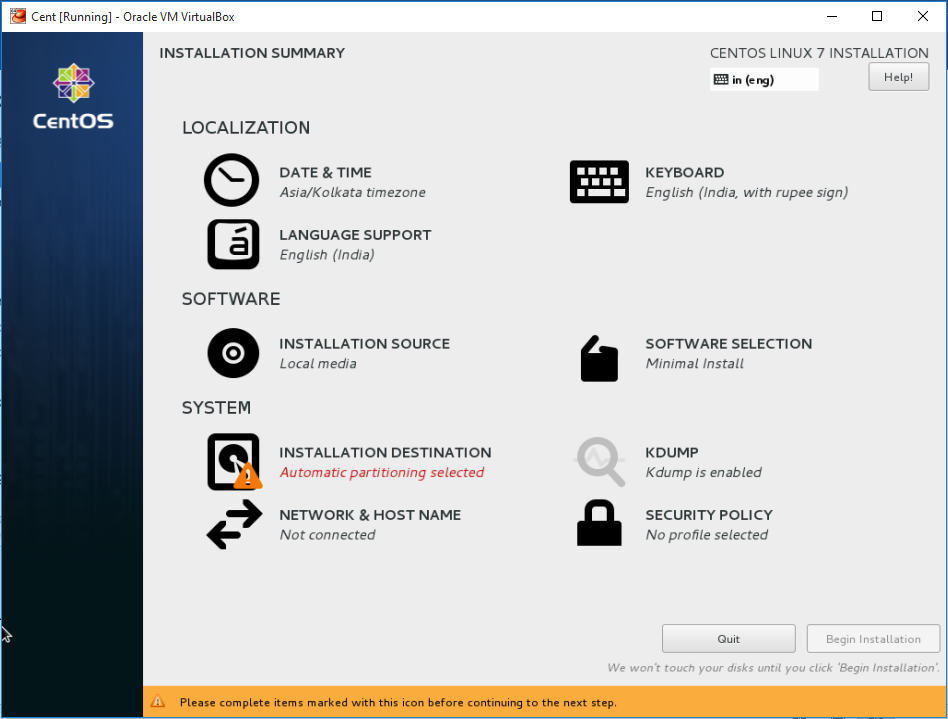
- Date and Time, keyboard and Language support was selected automatically for me. If you want to change, select specific option and change.
I will change Hard disk partitioning and Network settings.
Click Installation destination.
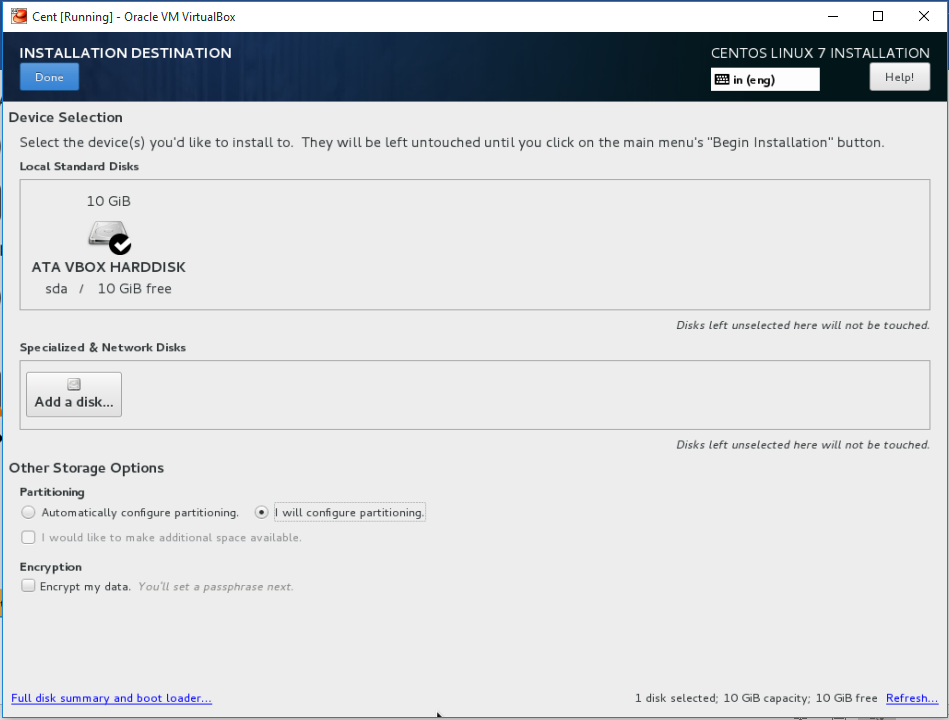
- Select I will configure partitioning and click Done.
- Click on ‘Click here to create them automatically’.
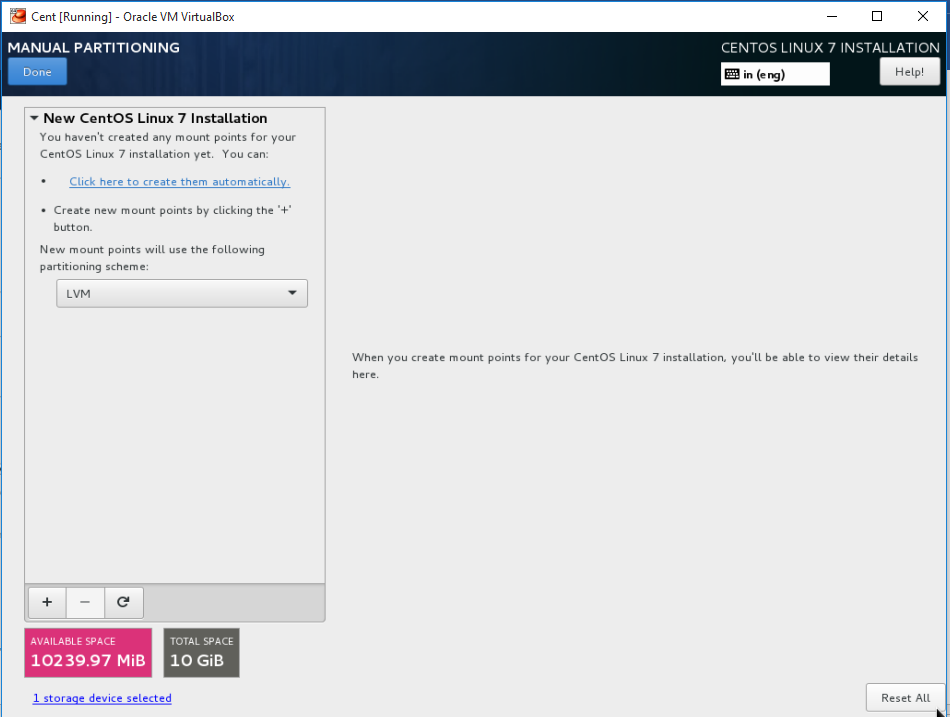
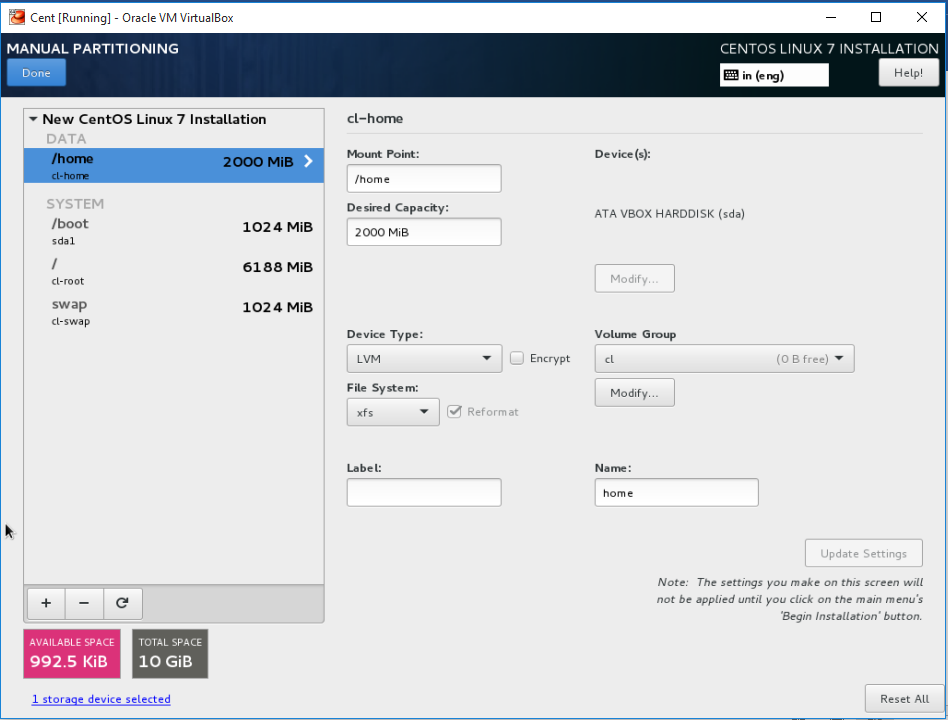
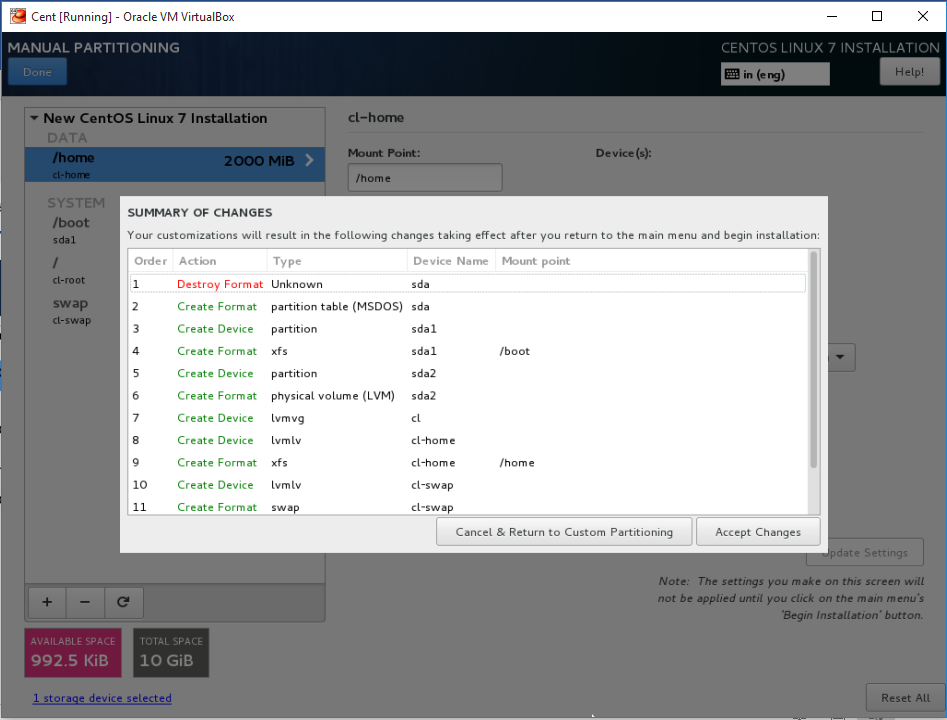
- Change the partitioning as required. I added one more partition with 2GB. And Click Done.
- Click Accept changes.
- Click on Network & Hostname .
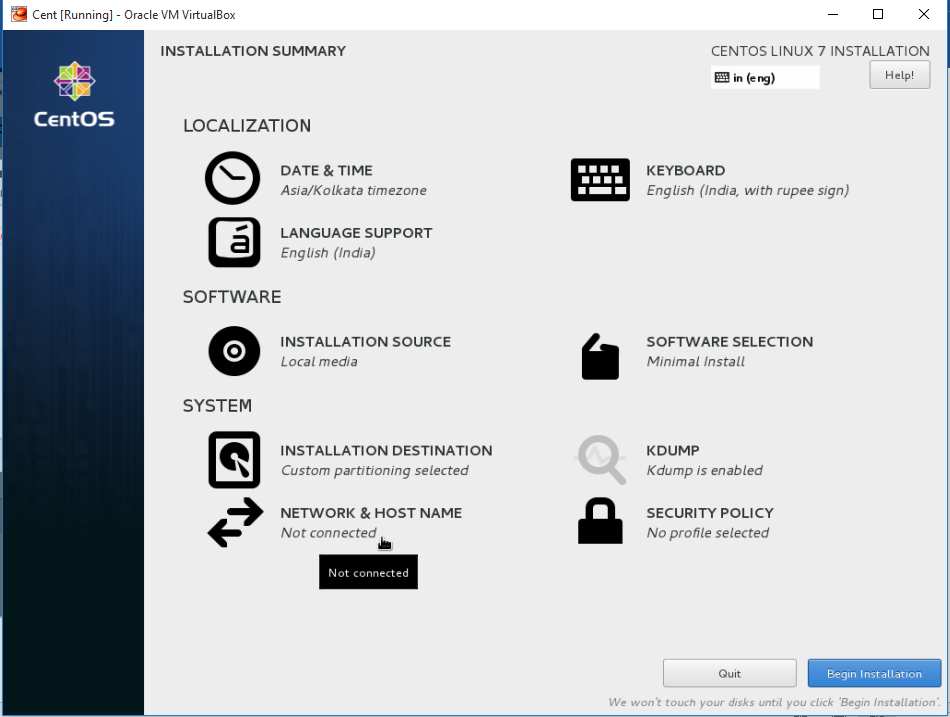
- Change the hostname, and click ON near Ethernet option. Click Done.

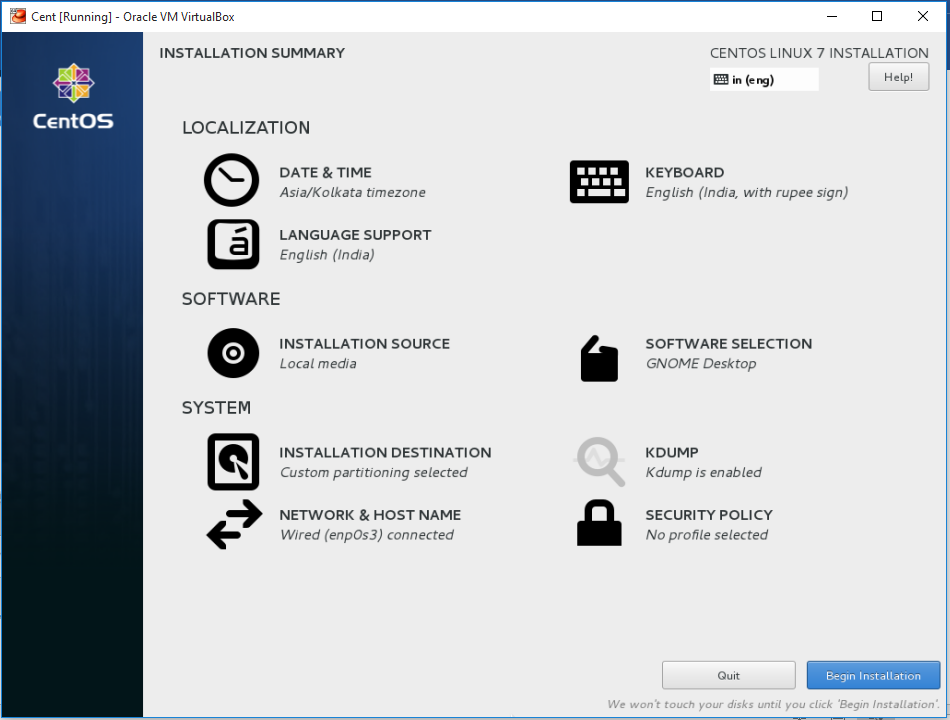
- Change software selection to GNOME desktop. Click Begin Installation.
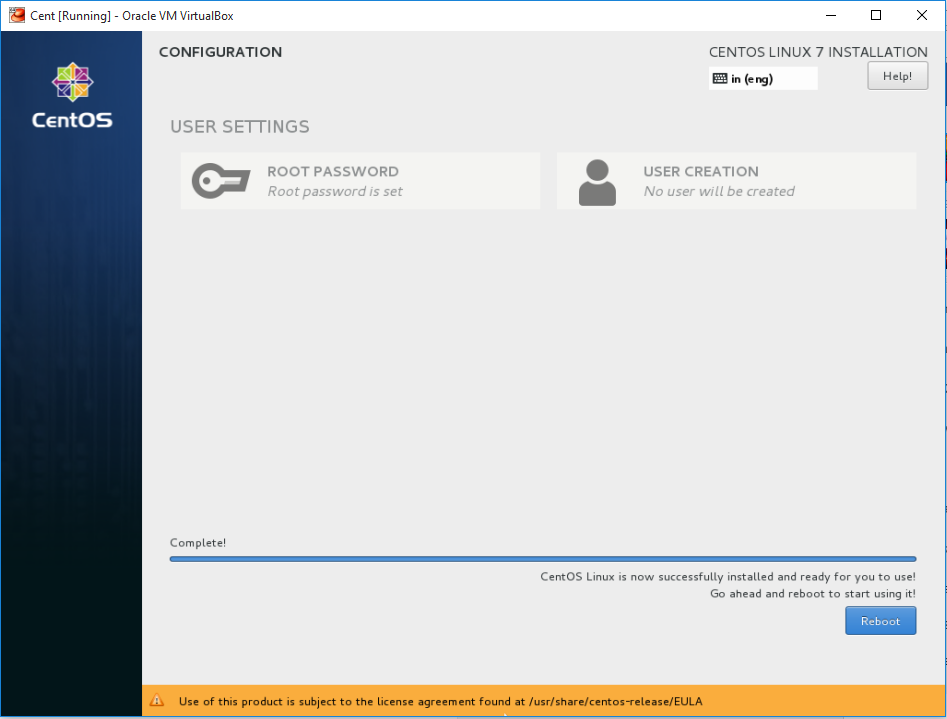
- Set the root password.


- Click Reboot.
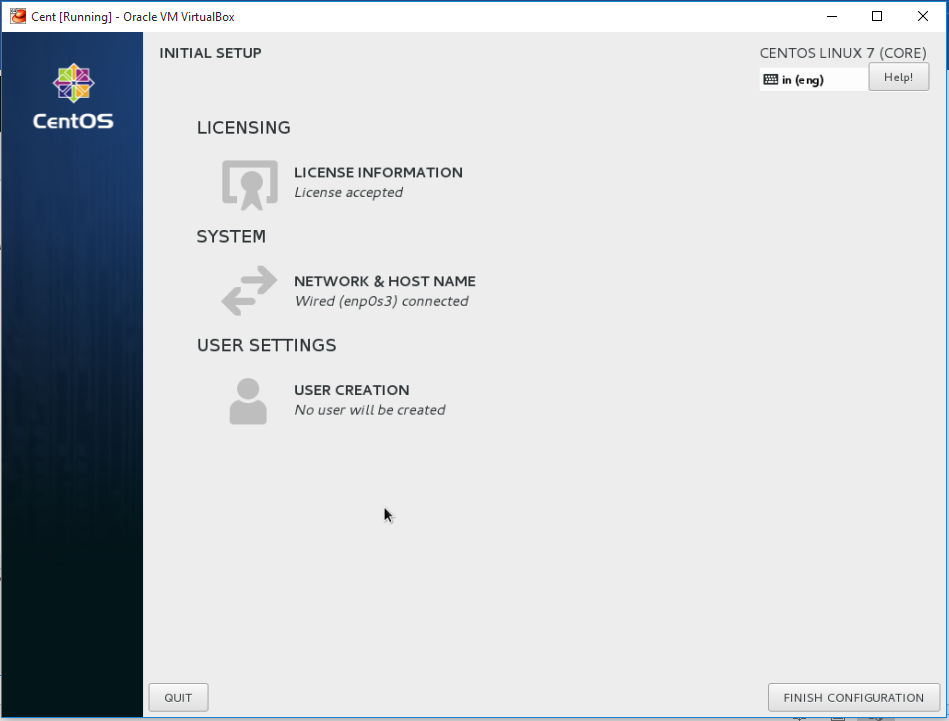
- Accept the License and click Finish configuration.

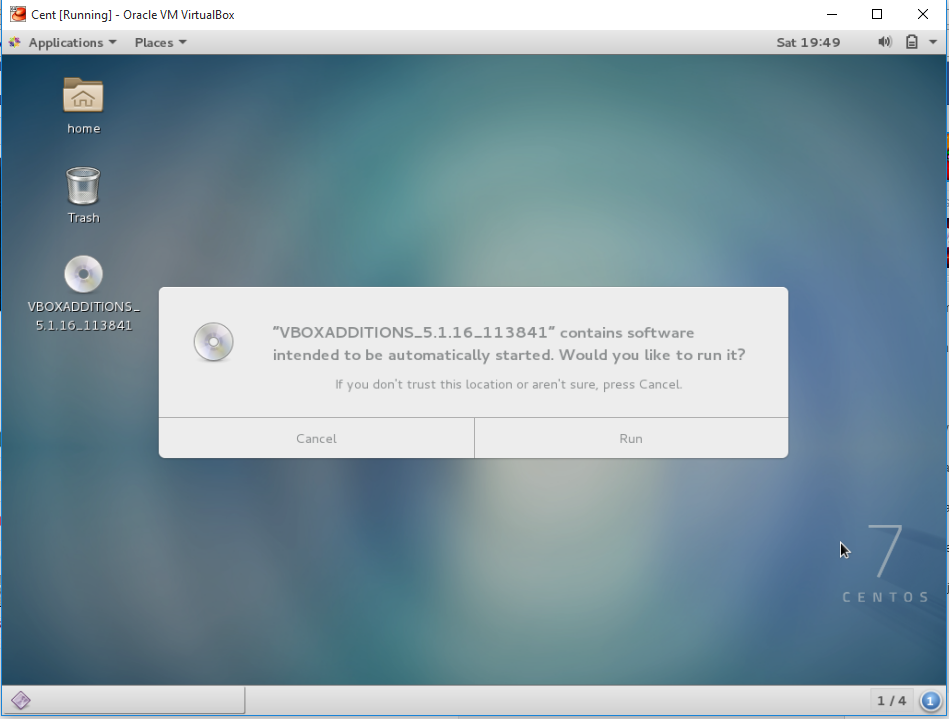
- After some welcome screens. You can login to the cent OS 7. Devices option and select Insert Guest Additions CD image.
(Use right ctrl + F to get menus, if you didn’t see them)

- Click Run to run the guest Additions.

- Guest additions failed because some prerequisites were not there. Connect to the machine and install following packages.
Yum install gcc
yum install kernel-devel
yum install kernel-headers.x86_64
Login as root right click on guest additions CD and choose open in terminal.
>export KERN_DIR=/usr/src/kernels/3.10.0-514.10.2.el7.x86_64
>./VBoxLinuxAdditions.run

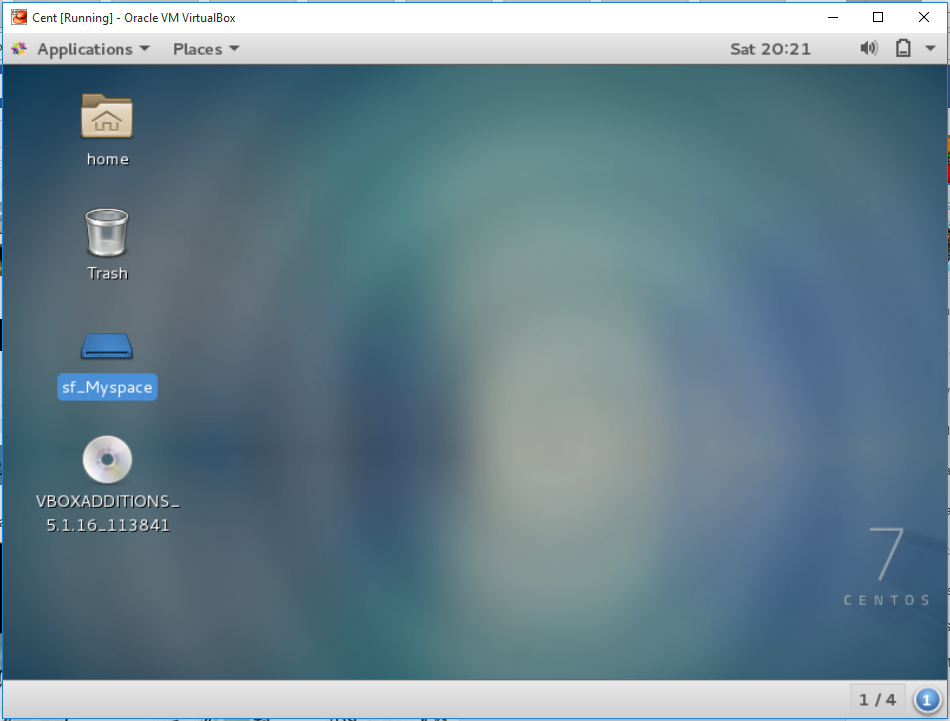
And reboot the system.
After reboot the shared drive mounted automatically in /media. And shared clip board is working.
- Check the IP address of the machine.

IP address from my Wi-Fi router is assigned to the virtual machine. So that my virtual machine can access the internet.
Check network connection.
Now you can connect Cent OS using putty.
And we successfully installed and configured Cent OS in virtual box.
No comments:
Post a Comment